Photo of the moment

Photo of the moment

Wednesday, March 30, 2011

Mt. Hector attempt (ski mountaineering)


At 0730h Pat and I started skiing up the creek that heads towards Mt. Hector. There was a slight breeze accompanied with some light snow. This wasn’t expected since the forecast was only calling for sun and clouds. We were trying to be optimists and hoped that it would clear up to a sunny sky soon enough. We were quite hopeful that the conditions were going to be good since the avalanche conditions had been quite good and steady lately. After ascending over 800m the weather didn’t improve and the winds were actually getting strong and the snow didn’t stop coming down. There had probably been about 5cm of new snow overnight and the wind transport onto avalanche prone slopes was beginning to be a concern. On top of that, visibility was limited and we couldn’t see further than halfway up Mt. Hector. We didn’t expect this kind of weather. With the odds not looking good we decided to call it a day and headed back.
  
Pat putting on an extra layer of clothes.

Our total outing lasted 3h15. It took us 2h30 to ascend 855m which brought us near the toe of Hector Glacier. That means we reached 2700m before turning around. Our descent back to the van took us 45min. It was an easy descent with most of it being a nice ski run all the way down on variable snow. The snow was surprisingly shallow in some areas considering that we’ve been having quite a good snow year.


I guess we’ll have to come back some other time when the conditions are better. This ski mountaineering tour is quite interesting and I can only imagine what the views would look like on a blue bird day.


Our turn around point.

What we could see of Mt. Hector.


Tuesday, March 22, 2011

Polar Circus 700m V, WI5 (Ice Climbing)


We kept an eye on the weather these past few days and decided that today was a good time to head up to do this climb that we have wanted to do since the start of the ice climbing season. We needed a day below freezing with cloud cover to keep the avalanche risk low since temperatures have been hovering above freezing lately. Pat and I left Banff at 0450h and parked along the Icefields parkway in front of some tracks heading up to the climb. We bypassed the lower rambling ice by following tracks up a steep slope on the left to save some time. We wanted to get the climb done in good time since the avalanche risk could pose a thread if the south facing slopes above received sun (possible cornices could fall). We geared beside the first WI4 pitch where we were well protected in an overhanging rock band. Pat and I decided to solo up this 20m pitch and found some sun baked ice that often “dinner plated” off as we tried getting our tools into the ice.  We then walked up a wide snow gully for about 200m to solo the second pitch which was WI3 for 30m. The ice was nicer here and fairly hooked out. Another 150m snow gully brought us to another pitch of WI2-3 for 20m. We then followed tracks that contoured right around a rock band and came back left crossing a snow slope to reach the last 3 tiers of the climb. I led the first tier (WI4) and stretched the 70m rope to reach the top of it and a bolted belay on the right of the next tier. Pat led next on a WI4 pitch that required me to simul-climb a 20m to reach the next bolted belay. This brought us to the last and harder tier. By now the clouds where thinning out and the sun was starting to warm things up. Not good! We decided to keep going considering we were doing good time and ended up having to do the last tier in two pitches. I led the first on WI5 ice which didn’t show any signs of traffic. I made a belay on screws and Pat led the rest to the top (WI4+) where he found a bolted belay on the right. During the last tier I had kept an eye on the temperature and it had risen from -4 to 0 degrees Celsius in the shade. We were getting set to rappel together on each strand of rope to save time. All of a sudden we heard a loud crash which seemed nearby and while our hearts sank into our throats and after letting a “Holly fuck!” we started zipping down from the exposed top of the climb to a safer ice cave below. It was most likely an avalanche which slid not too far away. Not good news considering we still had 7 rappels to get down. We decided to keep going and rappelled again to reach the bottom of the last tier and two more rappels brought us to the bottom of the last three tiers. We quickly walked around the snow slope which was fortunately still in the shade and made it to the bolted belay station where we again simul-rappelled down. Two more made for a total of seven rappels to reach our packs and the safer overhanging rock band. When we got to our packs I noticed that something had gone through my pack spreading a few items around it with the zippers pulled open. I figured it had been a pesky raven since I had heard that they are able to open up pack zippers and are quite smart. I don’t think I ended up getting anything stolen and fortunately I had clipped my keys onto the pack since they had been pulled on and were hanging out. A quick otter slide down the remaining slopes of the walkout and a short stroll saw us to the van in one piece.

The top tier.


Sunday, March 20, 2011

Sea of Vapors 165m V, WI5+ (Ice Climbing)


Views before crossing the big avalanche path.


Terminator on the left
 (not touching down),
The Replicant and
Sea of Vapors on the right.
                                                            
A few moves on rock at the
 start of the second pitch.
There were snowfall warnings in effect overnight but when Pat and I got up at 0430h there had only been about 5cm. The snow stability has been improving with the warmer temperatures which kept our confidence high for giving the climb a shot. At 0515h we parked the van at Bow Falls and biked up to the trail head. From there a 2hr walk constantly upwards brought us to the headwall. We were lucky to have been able to follow up previous tracks since the walk up would have been a tough one. There were a few good snow slopes to cross towards the top. The snow stability was important while approaching up with this year’s high snow pack. We geared up and left our packs beneath an overhanging rock band where it was well protected. We then ascended a fixed rope to get passed a 3m rock band. Soon after, we were at the base of a 40m step of WI3. We soloed up to the base of the first pitch of Sea of Vapors called “Post scriptum”. The climbing of this popular “hard” climb actually looked quite easy from bellow. Pat led the first pitch on good ice to a bolted belay on the left. I then led the second pitch across the rock section and then climbed up hooked out ice. Although it was thin to start off with and it took a little hunting around to find good screw placements. I reached a bomber V-thread station about 50m up. Pat then led the last pitch to the top where a V-thread was already placed. We were surprised to have found the ice quite easier than expected and actually felt a little disappointed. It was still a great climb and the temperature couldn’t have been better. Also the views were awesome with low valley clouds bellow us giving the climb an eerie bottomless feeling.
The descent offered plenty of bum sliding down which made it faster and fun.
 
Clouds rising up from
the valley bottom.


Friday, March 18, 2011

Climbing Ice - Personal Experience

It's getting late into the ice climbing season. But here's an article that I had written on my thoughts about climbing and ice climbing earlier in the season...


People climb for different reasons. Mine was because I wanted to learn the different techniques and skills - which seemed very complex at the time - so that I could venture where fewer people travel. Your senses feel heightened when you realize that you are out there alone.
                I started by learning the basic climbing techniques in the safety of the indoor climbing gym. Then I moved on to the great outdoors of the Bow Valley, about an hour west of Calgary so that I could climb real rock. I was able to elevate (no pun intended) my climbing ability while still being safely protected by bolts already installed on the numerous sport climbing routes throughout the Valley. My interest kept rising, so I progressed to the challenges of placing wired nuts and camming devices (commonly called cams) - as pieces of protection. Under the watchful eye of experienced rock climbers I placed this specialized gear in cracks as I went up and attached them to the rope. The basic idea was to protect myself from hitting the ground below.
                 To give you an idea of how this gear works, nuts usually work better in wavy cracks while cams work best in parallel cracks. Often the particular crack dictates what type of gear to place. Nuts are a single, solid piece of aluminum tied into a thin wire and are available in sizes up to 2 inches. They are jammed in constrictions along irregular crack widths in the raw rock. Cams are spring-loaded devices. The springs help the cams stay in place and make them easier to place along parallel-sided cracks. Cams come in widths varying from one half to six inches. A single cam has a range in which it can fit into certain sizes of cracks. Experience, or good advice, will lead you, hopefully, to select the right cam. Cams are designed to place more force against the rock inside the crack when more weight is placed on the cam - for example when you’re falling.
                As you can see, there is a lot to know before running up a cliff and eventually I was able to blend these traditional rock climbing techniques and skills and decided to start venturing further out into the alpine world. This style of climbing requires all of the techniques and skills above and comes in handy with other unexpected or unplanned situations, such as falling into crevasses and getting lost.
                Each type of rock climbing calls for a particular set of skills. Most climbing is similar to a monkey climbing a tree. At least that’s how my style has been described. But one style breaks the rules, and that’s ice climbing. Instead of hanging from your limbs ice climbing requires you to depend largely on tools - specialized pair of ice axes, called ice tools, for your hands and crampons for your feet. So with the mercury dipping lower and lower, many rock climbers put away their gear and revert to the indoor climbing gym. A good choice and not to be argued with! And there they will wait for the warmth of spring to get up into anything vertical again. Yet others will brave the cold to climb the classic waterfall ice in the Bow Valley and neighbouring areas.
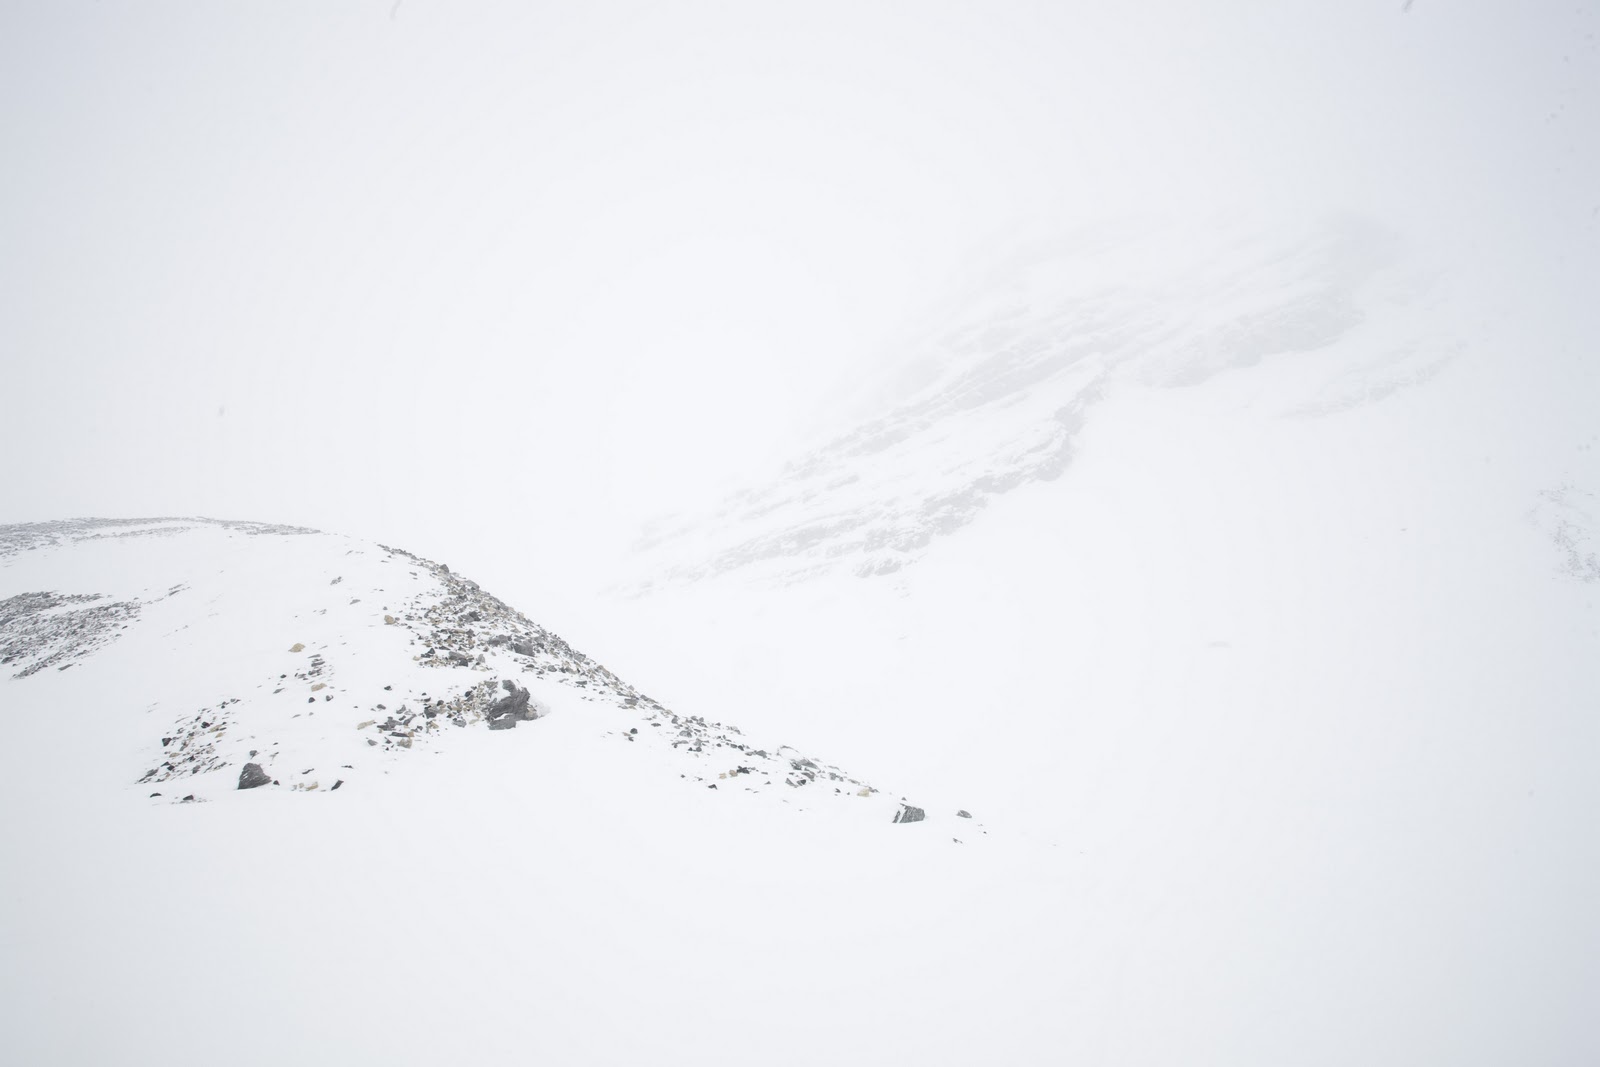
You’ve probably seen some of these fantastic frozen chutes if you’ve driven from Calgary to Banff along Mt. Rundle or Cascade mountain. In fact, you could probably leave Calgary in any direction and hit a classic climb or two. But maybe you didn’t seriously contemplate getting out of your car and heading due up. These vertical formations do get climbed by locals, but they also attract tourists visiting from other countries. From my own experience a lot of Japanese, British and Germans seem to like to climb our frozen waterfalls. The waterfall climbs in the Rockies are abundant and renowned for their ease of access – many are only a few minutes from a road or highway. These natural and ecological tourist attractions not only bring in tourism dollars. They are ecologically sound and low maintenance. They freeze and melt out every year on their own.
                There are several climbs approximately an hour or slightly more from Calgary. Just above Canmore and only a few minutes walk from the Grassi Lakes exit is a great practice area called “The Junkyard”. With ease of access climbers will find lots of variation and room to work on their technique. There are also near-by climbs in more remote places like the Ghost Wilderness although you may wish to ensure you go there in a well-equipped 4WD. It isn’t uncommon to have your vehicle trapped by a famous car eating snow drift. “The Ghost” is northwest of Cochrane and about an hour and a half from Calgary. Due to its remote nature, climbing in the Ghost is all about high-quality adventure. More experienced climbers will want to have a go at “The Sorcerer”. One great thing about ice climbing is that you can legitimately say cool things, like “snap into a Slim Jim, we’re going to the summit!“. And other 1980’s certifiably retro expressions.
                Ice climbing receives mixed reactions from rock climbers. I’ve heard some of my friends say “I don’t see myself climbing on something that melts”. There seems to be some misconceptions about ice climbing. There are many things to know that can’t be learnt while rock climbing - like the ice quality, and conditions that affect the holding strength of the screws placed into the ice. The screws, like the proper use of ice tools and crampons, are your protection against falling.  The first rule of ice climbing is “Don’t Fall” and this comes down to knowing your own limits and recognizing whether you can manage the difficulties of a particular climb. You simply must have the discipline to take the time to learn. Tests have shown that screws have strong results on good ice, but what’s good ice?
                A good way to learn is to get out there with an experienced friend or a certified guide. There are also clubs such as the ACC (Alpine Club of Canada).  The ACC has experienced volunteers who act as trip leaders. All you have to do is join and it’s not expensive. To get a taste, you can often rent the gear at outdoor retailers. Otherwise you might be climbing out of debt from buying it all for your first trip.
                It’s important to use caution in choosing your climbing routes. Avalanches pose serious risks. You must choose the level of risk you are comfortable with. If, upon arrival there are recent signs of nearby avalanches, it’s most likely better that you back-off for the day. The climb will still be there another day. Many climbs are natural avalanche funnels - gullies are often where the ice forms. It’s up to the climber to get updated with the current avalanche conditions. Forecasts and conditions are available on the web or at parks information centres. With ice climbing, unlike cross-country skiing or backcountry touring, it is practically impossible to get out of the way of an avalanche racing down the gully. Professional skiers may do it in the movies. It’s a little harder on a frozen waterfall, where your two basic moves are up and down.  Ice climbing does have its risks, but knowing how to manage them is part of the reward.
                Earlier in the season I had been up a frozen waterfall a few kilometres east of the gondola on Sulphur Mountain. An old climbing guidebook I managed to get my hands on mentioned the Spray River Falls near the town of Banff could be a good early-season ice climb. My younger brother Patrick has started ice climbing this year and we decided to find out what this climb would be like. This was a bit of an adventure since we hadn’t heard much about this climb or what conditions we could expect. We left the comfort of our shack and biked up to the hot springs on Sulphur and headed a few kilometres east on the trail that starts underneath the gondola. After a steep grind of an hour and a half we finally stood bellow the climb. I didn't find the Spray River Falls too promising to climb. The first ten meters of the climb had chandeliered - an ice climber’s term for unbounded icicles not forming a solid sheet of ice. These icicles would make it hard, or even impossible, to protect myself with ice screws if I took a fall. From what we could see, the higher section was of easy angle to climb and further out was a steeper section with an attractive narrow pillar. It looked like all the problems were at the beginning. The quality and thickness of the ice can vary from fragile and brittle or easier soft “plastic” ice. This has a role in how difficult a climb can be since you need to penetrate the ice with your crampons and ice tools. The crampons used for ice climbing are rigid and most have 12 points to give you traction when walking on low angled ice. When the angle steepens there are one or two sharp front points used to kick your feet into the ice and hold your weight and balance. The ice tools have laser sharp blades that penetrate the ice and little teeth underneath keep the blade from sliding out of the ice while you pull yourself up. It is important to keep the tools steady when the ice is thin since a little movement could dislodge the tools out of the ice. We studied the climb for a little while and decided to suit up and give it a go. If we couldn’t get screws, for safety, into the lower section, we would have to give up and bike home.
                I was able to fix two solid ice screws about four meters up the falls before getting into the sculpted, chandeliered section. These two screws which I would clip onto the rope with a quickdraw (two carabiners held together by a piece of sewn webbing which is clipped onto the screw and the rope) would stop me from hitting the ground, if I fell – at least until I had climbed further. Everything was going fine on the delicate ice until I hit the last few feet before the easy-angled ice above. Then I panicked. I told myself “I can’t fall here” (and who wants to look bad in front of their brother?) I returned to work, placing my crampons carefully, one foot at a time, taking care to place the ice tools and getting up the ice a little bit, and I mean inches, at a time.
                In retrospect, perhaps it was more psychological than physical. I had climbed harder sections of ice before. The challenges of climbing aren’t only technical but psychological. I find that when a situation becomes challenging I sometimes tense up and loose technique. This quickly gets me tired while I hang by my arms trying to make my way up. I was able to shake it off after regrouping my thoughts and concentration on the next section. Here, about 90m up, the pitch was interesting with a mix of narrow and thin ice with visible water running underneath and thicker, safer ice to protect with screws higher up. I got through that and thought that the remainder would be good climbing, but, no dice. Once I reached the pillar, I could see that the climb was over. The pillar was dripping wet and very chandeliered as well. Sometimes you just have to call it quits.
                 Later in the season this climb would form into better climbing condition with thicker and stronger ice. So I set up an anchor with two screws and my ice tools planted firmly into the ice and tied myself onto them. I had my brother follow up the 50m pitch with the safety of the rope above him. Before heading down from our stance 800m above the valley bottom we took in the views expanding across the valley and neighbouring Mt. Rundle. We had an interesting find on our way down - a rusty, old 2 foot piece of bar stock with a climbing rope attached. This was most likely an old piece of ice climbing (but how old we didn’t know). Back in the day these metal pieces were placed into the holes made by the ice screw and left there to secure the climbing rope while descending. Today, ice climbers protect themselves with lightweight ice screws that twist quickly in and do not shatter the surrounding ice. I have a lot of respect for the climbers who came before – their gear was primitive compared to what we have these days. Our advancing technologies and techniques encourage more people to get into the sport and try more difficult climbs.
Go climb something!

Tuesday, March 15, 2011

Whiteman Falls 95m IV, WI6 & Red Man Soars 55m III, 5.10- WI4+


Whiteman Falls
  Drove up to the closure of Hwy 40 (Kananaskis) and skied out to Whiteman Falls around 0930h. Last time on March 1st Cian and I decided not to bring the skins because we were breaking trail. This time, Pat and I found the going less efficient because our skis kept sliding a little backwards on us with the track already set. Although each time we came across a slight downhill we were cruising down nicely. We were still 5 min faster to reach the walking trail this time with a total of 1h15min. But I still would have rather had the skins on. Another 30min brought us to the base of Whiteman Falls. Pat did a great job of leading the falls in one long pitch. The ice conditions were similar to March 1st, but this time Pat led up a little more center of the ice where it was more sustained for the first half. The second half was hooked out. One rappel from the bolted station above brought us all the way down.

Red Man Soars mixed climb.

I then geared up to climb the mixed route to the right of the falls called Red Man Soars. I had wanted to lead it since the last time. The climbing was exciting. The rock section bellow didn’t change but the ice had diminished. It had been a fun lead with a bit of head games since there was little protection once passed the first belay station. I led the 55m climb in one pitch.


Wednesday, March 9, 2011

Pilsner Pillar 215m III, WI6 (Ice Climbing)


We climbed on the left-hand side which offered the only ice touching down all the way. The climbing was steep and delicate at some places. But fortunately there were areas to rest between the pillars. The protection was sometimes run out. Great climbing, but I probably wouldn’t give it a WI6 at the time because of the possibility of resting between the pillars. It definitely is a one pitch wonder.


Pat and I parked at the same pull-out as when we climbed Carlsberg Column. We tried looking for a trail up to the climb but didn’t have any luck. We could see the climb through the trees and decided to cut in without finding a trail. The approach took us about 20-30min. We only found a set of tracks once we had almost reached the climb. It seemed like there weren’t many people who had climbed it lately. I was feeling surprisingly good considering our outing to Helmet Falls two days ago. I guess resting all day yesterday and not getting out of the house at all played big part in our recovery. We were definitely not functional yesterday. It took us a big effort and longer than usual just to get the dishes done.
I led the crux first pitch. The bottom part of the pillar was thin and the ice was aerated and hard to protect with screws. I started up by stemming off of the rock to reach the ice. Fortunately, while on the rock I found a bolt about 7-8 feet up which temporarily gave me protection as I climbed higher onto the ice. I then had to run it out a little to reach slightly better ice and got two marginal screws in. Just above the screws I was able to sling another small pillar to the right. I then climbed another small pillar which had formed above. I then climbed around another pillar to put the rope around it as protection. One last pillar offered the same means of protection by climbing around it and I had reached the top. I placed a screw on top as a directional and belayed 20m right on bolts.
Pat then led the rest of the climb while simul-climbing. The ice was mostly WI3 but there was a good WI4 step lower down that was steep enough to be a little worried while climbing up together at the same time.

Sunday, March 6, 2011

Helmet Falls 300m V, WI4


The first peek at Helmet falls on the approach.

Yesterday was a big one! Skied up to climb Helmet Falls and came back... an 18hr day.
                Approach:
Left from the Ink Pots parking lot at 5:00am on skis and arrived at the base of the climb by 11:30am. Once past the Ink Pots we broke trail up Ochre Creek and then skied up Helmet Creek to reach the falls. The creek is open almost the whole way up which made it easy to refill our water supply. Roughly 16km of skiing on the approach... and another 16km back. Two hazards: A few avalanche slopes & cougars.

Climbing up the snow slope bellow the main falls.

The approach crosses a few avalanche slopes. After crossing the first one (wide!) we had lost the trail and needed to search a little since it was still dark. We came across what must have been a cougar kill because there were very fresh tracks everywhere and it smelled like something had died nearby! Needless to say we got out of there quickly. Oh and there were fresh cougar tracks on top of our approach ski tracks on the way out.
    The climb:

Bellow the main falls was a 20m section (WI3) which we didn't rope up for. A wide 150m gully was above and we needed to wallow in knee deep snow to reach the big wall of ice. The snow was stable enough not to be concerned of avalanche risks. We climbed the route in 3 long pitches (70m double ropes). The ice on the first pitch had a layer of old ice that needed to be removed to take good screws. I didn’t have too many screws placed lower on the pitch because we had originally planned to simul-climb part of the route. That idea changed once I was 60m up and noticed how heavy the rope was and the climbing was a little harder than expected. It took some getting used to climbing with the ski touring boots. The rest of the climb had great ice. Pat led the second pitch on great hero ice and I led the third and last pitch. On the last steep step I was getting pretty pumped and felt tired from our long day.

Three rappels off of V-threads got us back onto the snow gully. We found a rappel station (piton and nuts) on the climber’s right side to rappel down the 20m step below the main falls. We made it back to the parking lot slightly before 11:00pm. We spent the whole day in touring boots (including the climb). The blisters on my feet aren't pretty and the loss of a toe nail still made it worth it.


View from the top of the climb and looking back at our return. No highway to be seen nearby.